Introduction to Celery Cream Soup
Celery cream soup is a delightful and creamy dish that has its roots in classic French cuisine. This smooth and velvety soup showcases the mild, yet distinct flavor of celery, making it a popular choice among culinary enthusiasts. Its consistent texture and comforting qualities make it suitable for various dining occasions; it can be served either as an appetizer or a light main course, accommodating diverse preferences and settings.
The appeal of celery cream soup lies in its ability to provide warmth and nourishment. It is particularly favored during colder months when a comforting dish can enhance the dining experience. Additionally, the creaminess of the soup offers an excellent balance to the subtle, herbal notes of the celery, creating a pleasing and satisfying experience on the palate. This soup can easily be paired with crusty bread or light salads, making it versatile enough for both informal and formal gatherings.
Besides its comforting qualities, celery cream soup is also celebrated for its health benefits. Celery is low in calories and high in essential vitamins, such as vitamin K, as well as dietary fiber. The inclusion of celery in this soup contributes to its nutritional profile, making it a wholesome addition to any meal. Furthermore, the soup can be prepared in various ways, allowing for the integration of other healthy ingredients, such as herbs and spices, that can enhance its flavor while maximizing its health benefits.
In culinary traditions around the world, celery is recognized for its versatility, thriving in both savory and sweet dishes. As such, celery cream soup continues to gain popularity, enjoyed by food lovers who appreciate its rich flavor and comforting qualities. Its place in modern cuisine remains strong, establishing it as a timeless addition to any menu.
Ingredients for Celery Cream Soup
To create a delicious celery cream soup, certain key ingredients are essential that not only contribute to the overall flavor profile but also enhance the texture of the dish. The primary ingredient is fresh celery, which should be crisp and vibrant to ensure maximum flavor. Celery serves as the foundation of the soup, imparting its unique, slightly peppery taste while also delivering a wealth of nutrients.
Another crucial component is cream, which elevates the soup’s texture to a velvety smoothness. Heavy cream can be used for a rich, indulgent version, while half-and-half or milk can serve as lighter alternatives. These creamy elements work in tandem with the celery, yielding a comforting dish that is both satisfying and wholesome.
In addition to celery and cream, flavor enhancers such as onions, garlic, and vegetable stock play a vital role. Onions add sweetness and depth when sautéed, while garlic introduces a fragrant note that elevates the overall taste. Using a quality vegetable stock instead of water can significantly boost the soup’s flavor profile, imparting a savory base that compliments the celery beautifully.
For those with dietary preferences, variations of the soup can be made by substituting certain ingredients. For instance, vegan cream or nut-based alternatives can replace dairy cream without sacrificing texture. Additionally, one can experiment with herbs and spices, such as thyme or white pepper, to add more depth and complexity. If a lower sodium option is desired, homemade vegetable stock can be crafted with no added salt, ensuring control over the flavor intensity.
Carefully selecting fresh and high-quality ingredients ensures that the celery cream soup is a delightful culinary experience, making it an exceptional dish for any occasion.
Step-by-Step Instructions for Making Celery Cream Soup
To create a delicious celery cream soup, begin by gathering your ingredients: fresh celery stalks, onions, garlic, vegetable broth, heavy cream, butter, and seasonings such as salt, pepper, and nutmeg. Rinse and chop the celery into small pieces, as this will enhance its flavor and allow for even cooking.
Next, in a large pot, melt a generous tablespoon of butter over medium heat. Once the butter is hot and bubbling, add the chopped onions and celery. Sauté these ingredients until the onions become translucent and the celery is tender, usually taking around 5 to 7 minutes. To intensify the flavors, add minced garlic in the last minute of sautéing; this helps to release the aromatic oils without burning the garlic.
After the vegetables have softened, pour in approximately 4 cups of vegetable broth. Bring the mixture to a gentle simmer, allowing the ingredients to meld together for about 15-20 minutes. The simmering process is crucial as it allows the celery’s sweet and delicate flavors to infuse the broth.
Once the vegetables are fully cooked, remove the pot from heat and allow it to cool slightly. This step is essential for safety during blending. Using an immersion blender or a traditional blender, puree the soup until it reaches a smooth and creamy consistency. If using a traditional blender, blend in batches to avoid overflow and spills.
After achieving the desired texture, return the soup to the stove. Stir in half a cup of heavy cream to add richness and creaminess to the dish. Season with salt, pepper, and a dash of nutmeg to enhance the overall flavor. For an even more luxurious touch, consider adding a few sprigs of fresh herbs like parsley or thyme during the blending process.
Finally, serve the celery cream soup warm, garnishing with a swirl of cream or a sprinkle of freshly chopped herbs for visual appeal. Enjoy this luscious and comforting soup as a perfect starter to any meal.
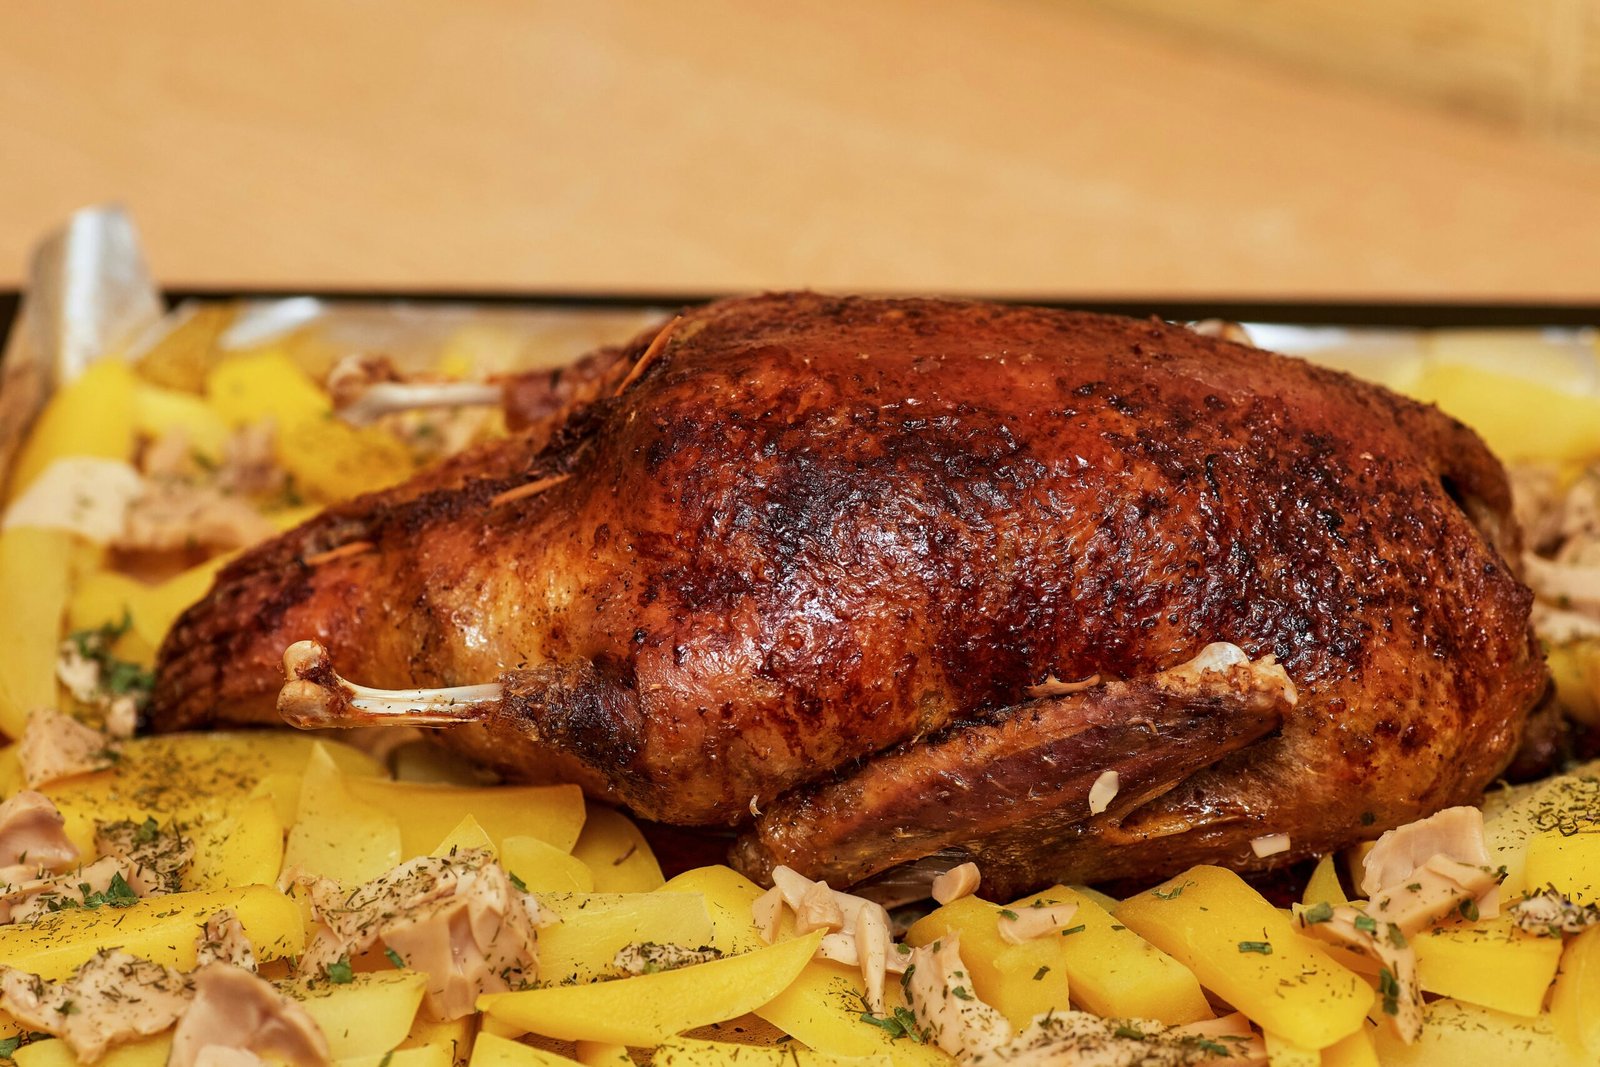
Introduction to Honey-Spicy Chicken Wings
Honey-spicy chicken wings have gained immense popularity as a crowd favorite for various gatherings, events, and parties. This delectable dish blends two contrasting flavor profiles: the sweetness of honey and the heat derived from a carefully selected array of spices. The result is a harmonious balance that excites the palate, making these wings an enticing option for any occasion.
The use of honey in the recipe not only adds a luscious sweetness but also serves to caramelize the wings during the cooking process. This caramelization contributes to a beautiful, glossy finish that enhances their visual appeal. The sweet notes of honey work in tandem with the spices, which can include chili powder, cayenne pepper, and other seasonings, to create a flavor burst that is both captivating and satisfying. This combination engages the senses and ensures that each bite of chicken is both tender and flavor-packed.
At gatherings, honey-spicy chicken wings are often served as finger food, encouraging guests to dive in and indulge. Their versatility allows for pairing with various sides such as crispy salads, cooling dips, or even classic ranch dressing, further elevating the overall dining experience. The dish caters to a range of taste preferences while remaining accessible to those who may shy away from too much heat. As a result, it has become a staple on many party menus, cementing its place as a beloved comfort food.
Incorporating honey-spicy chicken wings into your next gathering is a sure way to please your guests and leave them craving more. With their enticing flavor profile and satisfying crunch, these wings offer a delightful contrast that is sure to enhance any culinary spread.
Ingredients for Honey-Spicy Chicken Wings
To prepare delicious honey-spicy chicken wings, selecting the right ingredients is crucial for achieving an optimal flavor profile. The primary ingredient will be chicken wings, specifically a mix of drumettes and flats, which are well-suited for roasting or grilling due to their ability to hold the marinade and crisp up nicely.
Honey is the star ingredient that influences the sauce’s sweetness and richness. It not only balances the spiciness but also aids in caramelizing the wings during cooking, giving them a beautiful golden color and sticky texture. For those adhering to a health-conscious diet, it can be beneficial to opt for organic or local honey for added flavor depth and potential health benefits.
To create the spicy aspect of the dish, various spices are crucial. Common options include cayenne pepper, chili powder, and paprika, which can provide different levels of heat. If you prefer milder flavors, adjusting the cayenne pepper accordingly or substituting with smoked paprika for a less intense heat can enhance the overall dish while catering to personal spice tolerances.
In addition to the primary ingredients, several others can enhance the flavor profile of the honey-spicy wings. Fresh garlic, either minced or in powder form, can add a savory note, while a hint of apple cider vinegar offers tanginess that cuts through the sweetness of the honey. This balance of flavors can elevate the dish, making it more complex and satisfying. Key ingredients to keep in mind are olive oil, soy sauce for added umami, and black pepper to provide depth to the flavor. Collecting these ingredients ensures that the honey-spicy chicken wings are not only delectable but also memorable for any gathering.
Step-by-Step Instructions for Making Honey-Spicy Chicken Wings
Creating delicious honey-spicy chicken wings from scratch is a rewarding endeavor that requires attention to detail. Begin by sourcing quality chicken wings; around two pounds should suffice for about four servings. Start the process by marinating the wings. In a mixing bowl, combine three tablespoons of honey, two tablespoons of soy sauce, one tablespoon of apple cider vinegar, and a generous teaspoon of cayenne pepper for that quintessential kick. Add a teaspoon of garlic powder and salt to taste. Ensure the wings are well-coated in the marinade before sealing the bowl with plastic wrap and refrigerating for at least one hour, though overnight is preferred for deeper flavor infusion.
While the wings marinate, prepare your cooking method. Both frying and baking are viable options. If you opt for frying, preheat your oil to 375°F (190°C). Fry the wings in batches, taking care to avoid overcrowding, which can lower the oil temperature and lead to sogginess. Cook each batch for about 10-12 minutes until the wings are golden brown and crispy. If you prefer baking, preheat the oven to 425°F (220°C), and place the marinated wings on a lined baking sheet. Bake for approximately 30-35 minutes, flipping halfway through for even crispiness.
For the sauce, in a saucepan, combine any remaining marinade with a quarter cup of honey and a tablespoon of sriracha. Simmer over medium heat until the mixture thickens slightly, about 5-7 minutes. Once your wings are cooked, toss them in the prepared sauce to achieve a well-glazed finish.
When serving, consider placing the honey-spicy chicken wings on a platter. Garnish with chopped green onions or sesame seeds for added visual appeal. These wings pair excellently with a cooling dip such as ranch or blue cheese. Remember, the balance of flavors and textures is key to achieving the perfect honey-spicy chicken wings that will undoubtedly delight your guests.
Introduction to Grits Pie
Grits pie exemplifies the culinary versatility of grits, extending their application beyond savory dishes into the realm of delightful desserts. Originating from the southern United States, this unique dish has deep roots in Southern cuisine, where grits are a staple ingredient, often associated with comfort food. Traditionally prepared as a side dish, the transformation of grits into a pie represents the innovative spirit of Southern cooking.
The foundation of grits pie lies in its creamy texture, achieved by blending cooked grits with a sweet custard-like filling. This filling typically incorporates ingredients such as sugar, eggs, vanilla, and sometimes hints of citrus zest, creating a harmonious balance of flavors. The process of baking the pie allows the mixture to firm up while the top develops a golden-brown crust, resulting in a visually appealing dish that complements its rich taste.
As a dessert, grits pie often serves as a celebratory dish, often enjoyed at family gatherings, holidays, or special occasions. It is not only a testament to the resourcefulness of cooks in the southern region but also a reminder of the cultural heritage that grits represent. The concept of transforming this humble grain into a sweet offering symbolizes the ingenuity prevalent in Southern gastronomy, celebrating both tradition and creativity.
Grits pie has garnered attention beyond its regional origins, with food enthusiasts and chefs highlighting its uniqueness on menus across the country. This dessert showcases the fluidity of grits, a versatile ingredient that continues to surprise and delight those willing to explore its full potential. In this way, grits pie stands as a delicious conclusion to any meal, embodying both the richness of Southern culinary traditions and the promise of innovative flavor combinations.
Ingredients for Grits Pie
Grits pie is a delightful dessert that combines the comforting texture of grits with a creamy custard filling. The primary ingredient, grits, serves as the foundation of the pie, providing a unique mouthfeel and subtle flavor. Traditionally made from ground corn, grits are naturally gluten-free and rich in nutrients. When cooked and combined with other elements, they contribute to the pie’s distinct character.
In preparing the custard filling, eggs play a crucial role. They not only bind the ingredients together but also provide richness and depth. The proteins in the eggs coagulate when baked, creating a smooth and creamy consistency that complements the grits perfectly. Milk is another essential component of the filling. It adds moisture and serves to balance the structured texture of the grits and the creaminess of the eggs. Together, these ingredients create a luscious custard that is the heart of the grits pie.
Sugar is necessary to enhance the flavor, offering sweetness that elevates the overall taste profile of the pie. It can be adjusted depending on personal preference, and some recipes may even incorporate alternative sweeteners, such as honey or maple syrup, to add complexity. Additionally, variations of grits pie can include chocolate or berries, which add an appealing twist to the traditional recipe. Chocolate can be melted and integrated into the filling, lending a rich, decadent touch, while fresh berries can provide a burst of flavor and a bright contrast to the creamy custard.
To further enhance the grits pie, consider topping it with whipped cream, a dusting of powdered sugar, or a drizzle of caramel sauce. These complementary toppings can elevate the dessert, adding visual appeal and an extra layer of flavor that makes the grits pie an indulgent treat. By thoughtfully selecting ingredients and toppings, one can create a memorable dessert that showcases the best of what grits have to offer.
Step-by-Step Instructions for Making Grits Pie
To create a delectable grits pie, begin by gathering all necessary ingredients: 1 cup of grits, 4 cups of water, 1 cup of shredded cheese, 3 large eggs, 1 cup of milk, 1/2 cup of sugar, and 1 teaspoon of vanilla extract. Preheat your oven to 350°F (175°C) while you prepare the pie crust, if not using a store-bought option.
Start with cooking the grits. In a saucepan, bring 4 cups of water to a rolling boil. Add a pinch of salt for flavor, then gradually stir in the grits to avoid clumping. Cook the grits on low heat, stirring often until they are thick and creamy, approximately 20-30 minutes. Once done, remove from heat and stir in the shredded cheese until it melts completely, enhancing the overall flavor.
Next, prepare the custard filling. In a large mixing bowl, whisk together the eggs, milk, sugar, and vanilla extract until well combined. It is crucial to combine these ingredients thoroughly to ensure a consistent texture in the filling. Once the grits have cooled slightly, fold them into the egg mixture. This step is critical to avoid cooking the eggs prematurely, which could lead to a grainy filling.
Pour the grits and custard mixture into the prepared pie crust. Smooth the top evenly. Bake in the preheated oven for about 45-50 minutes or until the pie is set and lightly golden. To check for doneness, insert a knife in the center; it should come out clean when fully cooked.
Finally, let the grits pie cool for at least 15 minutes before slicing. This cooling period allows for the perfect firming of the pie, ensuring every slice holds together beautifully. By following these detailed instructions, you will achieve a grits pie with a creamy texture and balanced sweetness that delights all who taste it.